On this page
- How to Prepare Print-Ready Artwork: A Complete Checklist
- 1. Use the Correct Color Mode for Printing
- 2. Use the Right Image Resolution
- 3. Convert Low-Resolution Logos to Vector Artwork
- 4. Convert Text to Outlines or Embed Fonts
- 5. Add Bleed and Keep a Safe Margin
- 6. Choose the Right File Format for Print
- 7. Expand Strokes, Effects, and Appearance When Required
- 8. Clean Up Layers and Check the Artwork
- 9. Check Whether Your Artwork Actually Needs Vectorization
- Need Your Artwork Prepared for Professional Printing?
- Final Print-Ready Artwork Checklist
- Final Thoughts
- Have a Logo or Artwork That Isn't Print-Ready?
- Frequently Asked Questions
- Make Your Artwork Production-Ready
How to Prepare Print-Ready Artwork: A Complete Checklist
Learn how to prepare artwork for printing with the right color mode, resolution, bleed, fonts, file formats, and vector artwork—so your design is ready for professional production.
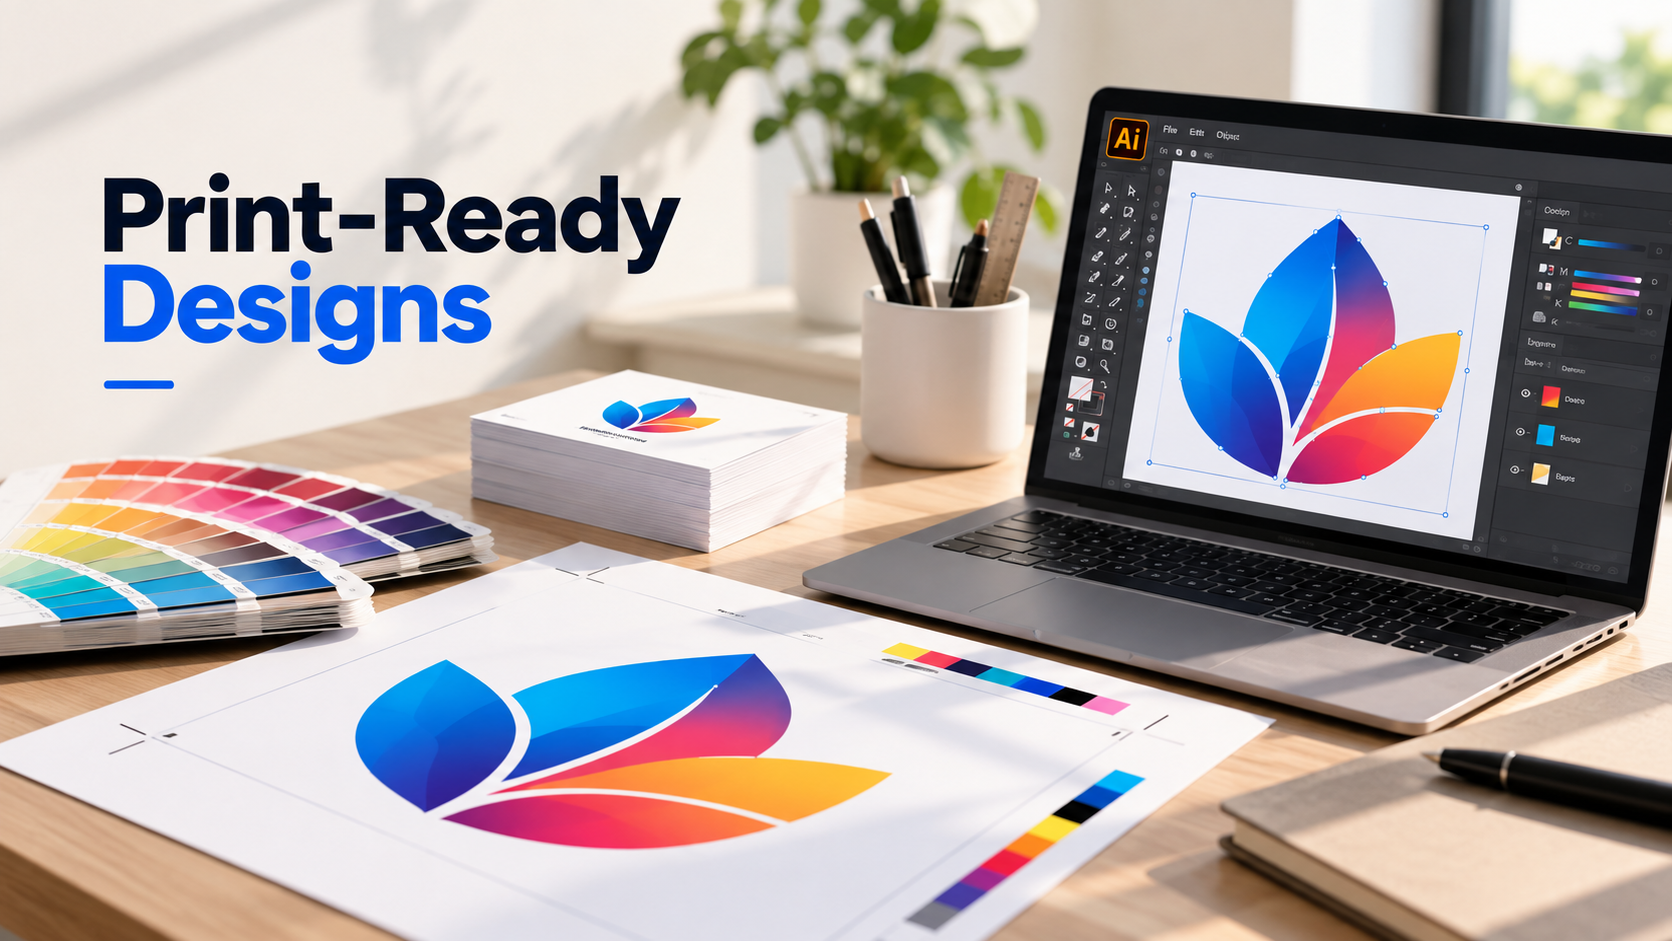
A print-ready design should be prepared at the correct final size, use an appropriate color setup, contain sufficiently high-resolution raster images, include the required bleed and safe area, and be exported in a format your printer accepts.
For logos, icons, typography, and artwork that needs to scale, clean vector artwork is often the safest choice for professional printing.
Creating a great design is only half the job—preparing it correctly for print is what ensures a professional final result. A design can look perfect on your monitor and still create problems during production if the file has the wrong color mode, insufficient resolution, missing bleed, live fonts, or unsuitable artwork.
This guide explains the most important steps for preparing print-ready artwork and shows where vector artwork can make the production process more reliable.
1. Use the Correct Color Mode for Printing
One of the first things to check when preparing artwork for printing is the document's color setup. Screen-based designs commonly use RGB, while many professional print workflows use CMYK or other print-specific color specifications.
Colors that look extremely bright on a monitor may not reproduce exactly the same way with physical inks. The final color result also depends on the printing process, paper, substrate, and printer specifications.
2. Use the Right Image Resolution
Resolution is especially important when your artwork contains photographs, textures, or other raster elements.
A low-resolution image can become blurry or pixelated when enlarged for print. For many standard print applications, 300 DPI at the final printed size is a common target for raster images.
The important detail is the phrase “at the final size.” A 300 DPI image that is enlarged substantially inside a layout may have a much lower effective resolution at the actual print size.
3. Convert Low-Resolution Logos to Vector Artwork
Logos are different from photographs. A small logo copied from a website, screenshot, social media post, or old JPG may not contain enough pixels for high-quality large-format printing.
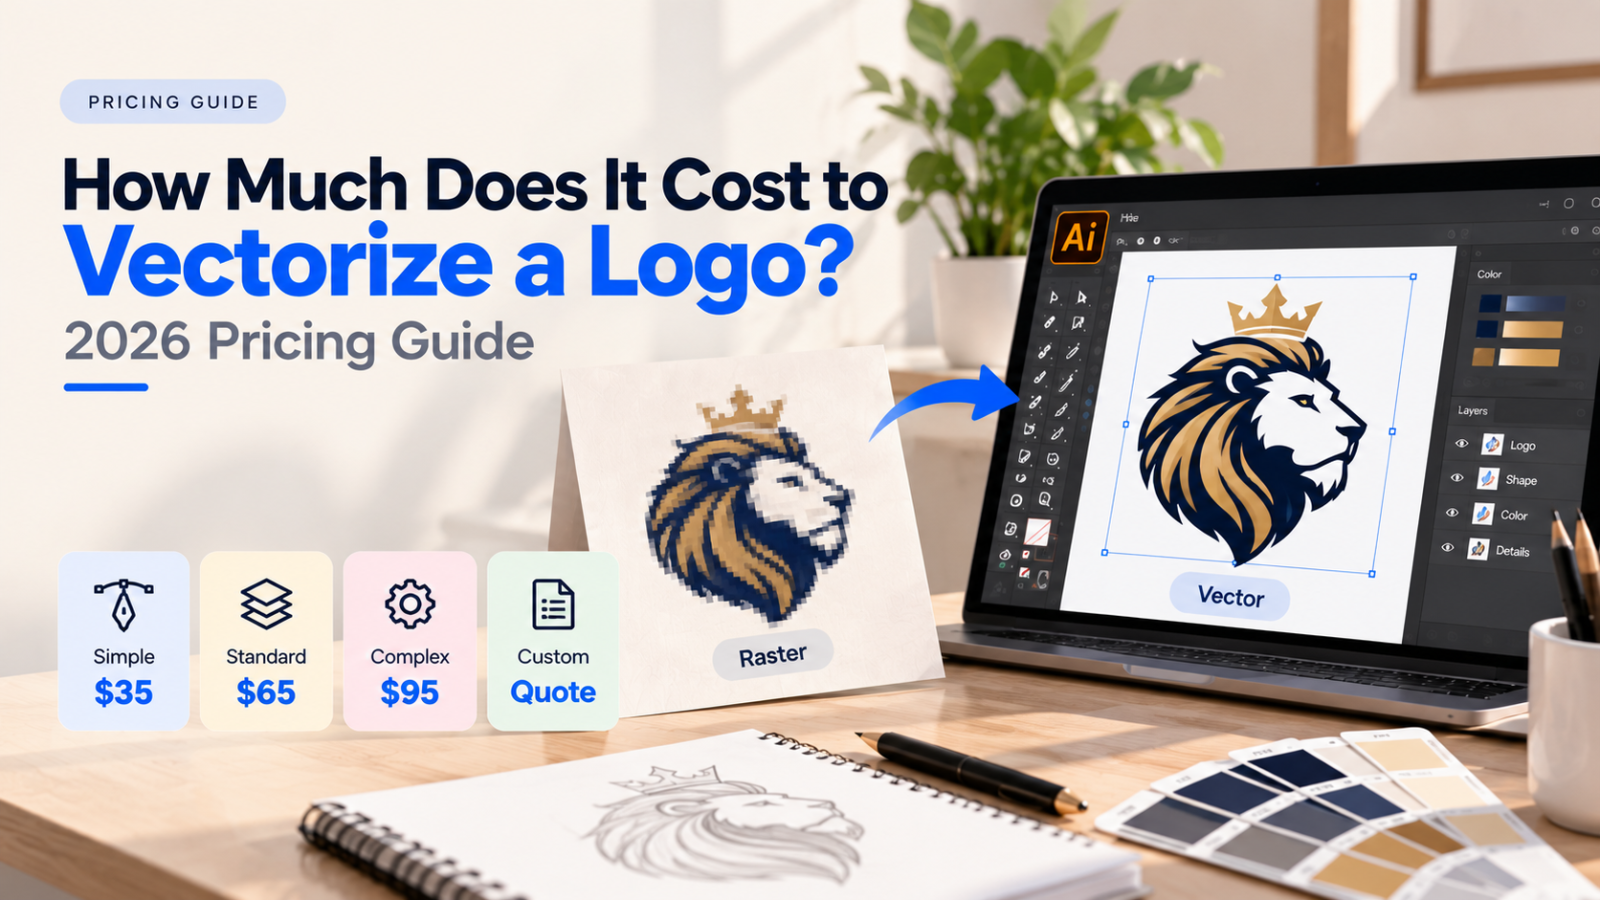
In that situation, simply enlarging the JPG will not create clean edges. The better solution may be to recreate or vectorize the logo using clean paths and shapes.
Small JPG or PNG with pixelated edges, compression artifacts, blurry curves, or insufficient detail.
Editable paths and shapes that can be scaled for different production sizes without depending on the original pixel grid.
This is especially useful when artwork will be used for business cards, packaging, signage, apparel, screen printing, embroidery, labels, or other production applications.
4. Convert Text to Outlines or Embed Fonts
Fonts can create problems when a design is opened on another computer or sent to a printer without the required typefaces.
Depending on the production workflow, text can be converted to outlines/curves or fonts can be properly embedded in the final file.
For vector artwork, converting critical text to outlines can prevent unwanted font substitution and preserve the intended letter shapes.
5. Add Bleed and Keep a Safe Margin
Bleed is extra artwork that extends beyond the final trim edge. It gives the cutting process additional artwork area so a small trimming variation does not leave an unwanted white edge.
A commonly used bleed value is 3 mm, but the exact requirement depends on the printer and product.
Important text, logos, and other critical elements should also remain inside an appropriate safe area rather than sitting directly against the trim line.
6. Choose the Right File Format for Print
The best file format depends on the artwork and the printer's workflow. Vector artwork is particularly useful for logos, text, icons, illustrations, and designs that need to scale.
| Format | Best Use | Why It Helps |
|---|---|---|
| AI | Editable Adobe Illustrator artwork | Preserves editable vector construction and design elements. |
| EPS | Professional vector production | Widely used for scalable vector artwork. |
| SVG | Web and digital applications | Scalable vector format suitable for many digital workflows. |
| Print-ready delivery | Can preserve vector artwork, fonts, images, and production settings. | |
| PNG / JPG | Raster artwork and images | Useful when the artwork is properly prepared at the required resolution. |
7. Expand Strokes, Effects, and Appearance When Required
Vector designs can contain live strokes, effects, brushes, appearances, and other editable properties. Depending on the production workflow, these elements may need to be expanded or converted into appropriate final shapes.
This is particularly important when artwork is being prepared for screen printing, vinyl cutting, embroidery, signage, or other specialized production.
8. Clean Up Layers and Check the Artwork
Before sending the file to production, take a final look at the document structure.
- Remove unnecessary hidden objects.
- Delete unused artwork outside the artboard.
- Check for duplicate shapes.
- Verify colors and swatches.
- Inspect small text and fine details.
- Check alignment and spacing.
- Confirm the final document size.
- Review transparency and effects.
- Make sure linked images are properly embedded or supplied.
A clean file is easier for both the designer and printer to inspect, edit, approve, and produce.
9. Check Whether Your Artwork Actually Needs Vectorization
Not every element needs to be converted to vector. Photographs and complex continuous-tone images are normally handled as raster images, while logos, icons, typography, and many illustrations benefit from vector construction.
If the only available copy of a logo is a small JPG, blurry PNG, screenshot, or scanned image, vectorization may be the right solution before sending it to print.
The goal is not simply to change the file extension. The artwork should be rebuilt with clean, accurate paths that are suitable for the intended production method.
Need Your Artwork Prepared for Professional Printing?
At VectorNPrint, we specialize in manually converting raster images, low-resolution logos, and existing artwork into clean, scalable vector files.
Our approach is simple: Zero auto-trace. 100% human precision.
Instead of relying on an automatic trace alone, important artwork can be carefully rebuilt with clean curves, controlled anchor points, accurate proportions, and production-focused details.
Vector files can be prepared in formats such as AI, EPS, SVG, and PDF, depending on the project and production requirements.
This makes the artwork easier to use across print, apparel, screen printing, embroidery, signage, packaging, and other professional applications.
Final Print-Ready Artwork Checklist
Before sending your design to a printer, run through this quick checklist:
Final Thoughts
Preparing print-ready artwork is not just about exporting a file. It is about making sure the design, dimensions, color, resolution, typography, vector paths, and production requirements work together.
Taking a few extra minutes to check the artwork before production can help prevent avoidable delays, unexpected results, and expensive reprints.
And when a logo or important graphic exists only as a low-resolution raster image, professional vector conversion and artwork cleanup can be the difference between a file that simply opens and a file that is genuinely ready for production.
Have a Logo or Artwork That Isn't Print-Ready?
Send us your existing JPG, PNG, screenshot, scan, or other artwork. VectorNPrint can manually rebuild it into clean, scalable artwork prepared for professional use.
Explore Vector Artwork Services →Frequently Asked Questions
What is a print-ready file?
A print-ready file is artwork prepared according to the production requirements of the printer, including the correct size, color setup, resolution, bleed, fonts, and file format.
What resolution should artwork be for printing?
For many standard print applications, 300 DPI at the final printed size is a common target for raster images. Large-format projects may use different requirements depending on viewing distance and production method.
Should a logo be a vector file for printing?
A vector logo is often preferable because it can be scaled to different production sizes without depending on raster pixels. It also provides editable paths for many professional workflows.
Can a low-resolution logo be made print-ready?
Yes. If the original logo is only available as a blurry JPG, PNG, screenshot, or scan, it can often be manually recreated as clean vector artwork before being prepared for print.
What file format should I send to a printer?
The correct format depends on the printer and production method. Print-ready PDF, AI, and EPS are commonly used for professional vector artwork, while raster formats may be appropriate for photographs and other image-based designs.
Make Your Artwork Production-Ready
Don't let a blurry logo, incorrect file setup, or messy vector paths hold up your next print project.
VectorNPrint — Zero auto-trace. 100% human precision.
Get a Professional Quote →